Sous vide cooking has revolutionized the way we approach cooking, offering precision and consistency that traditional methods can’t match. However, one of the most debated topics among sous vide enthusiasts is whether to sear before or after sous vide. Both methods have their advantages, and understanding when to use each can significantly impact the flavor, texture, and appearance of your dish. In this guide, we’ll explore the importance of searing in sous vide cooking, the benefits of searing before and after sous vide, and how to perfect your searing technique for the best results. Read on!

Why Is Searing Important in Sous Vide Cooking?
Searing plays a crucial role in enhancing the flavor and texture of foods cooked using the sous vide method. It can create the Maillard reaction, a chemical process that occurs when proteins and sugars in the food are exposed to high heat, which forms a flavorful, browned crust on the surface of the meat, adding complexity and depth to the dish.
It can also help to achieve a contrast between the tender, evenly cooked interior and the crispy, caramelized exterior. By searing the exterior quickly, you can lock in the juices, preventing moisture loss and ensuring the meat remains succulent and juicy to elevate the overall eating experience.
Better still, searing gives the food an attractive, golden-brown finish that is visually appealing, making the dish more appetizing and professional-looking.
Why Should You Consider Searing After Sous Vide?

Searing after sous vide, or sous vide steak before searing, is the most common practice and for good reasons. Here are the benefits of searing post-sous vide:
- Control Over Doneness: Sous vide cooking allows you to achieve the perfect level of doneness, and searing after sous vide ensures that you don’t overcook the food. The internal temperature is already set, so the searing process is only about adding flavor and texture.
- Enhanced Flavor: Searing after sous vide maximizes the Maillard reaction. You can focus on getting that perfect crust without compromising the tenderness inside.
- Consistency: By searing after sous vide, you ensure that the entire piece of meat is evenly cooked. There’s no risk of uneven doneness, which can happen if you sear before sous vide.
- Flexibility: Searing after sous vide allows you to prepare food in advance. You can cook your foods sous vide, refrigerate them, and then sear them just before serving, making it ideal for entertaining or meal prep.
What Are the Benefits of Searing Before Sous Vide?

Can you sear before sous vide? Of course. While less common, searing before sous vide also has its merits. Here’s why you might choose to pre sear sous vide steak:
- Sanitize the Meat: Searing the meat briefly at a high temperature can kill surface bacteria, reducing the risk of foodborne illness. It is particularly important if the meat will be cooked at lower sous vide temperatures for an extended period.
- Flavor Infusion: Searing before sous vide allows the flavors from the browned exterior to infuse into the meat during the cooking process, adding depth to the overall flavor.
- Speed Up Browning: Searing starts the Maillard reaction, which can help achieve a deeper, more even browning when you finish the meat after sous vide cooking.
How to Sear Before or After Sous Vide?
Perfecting your searing technique, whether to sear steak before or after sous vide, is essential for achieving the best results. Here’s how to do it:
Searing Then Sous Vide
1.Preheat Your Pan: Use a heavy-bottomed skillet, like cast iron, and preheat it over high heat (exceeding 150ºC/300ºF). Add a small amount of high smoke point oil (e.g., canola, vegetable, or avocado oil).
2.Season Your Meat: Season the meat with salt and pepper or your favorite seasoning to build a flavorful crust during the searing process.
3.Sear Quickly: Place the meat in the hot pan and sear for 1-2 minutes on each side until a golden-brown crust forms. Avoid moving the meat too much to ensure even browning.
4.Let It Cool: After searing, let the meat cool slightly before vacuum sealing it for the sous vide bath.
Searing After Sous Vide
1.Dry the Meat: After sous vide cooking, remove the meat from the bag and pat it dry with paper towels. Removing excess moisture ensures a better sear.
2.Preheat Your Pan or Grill: Use a cast iron skillet, grill, or broiler to preheat to a high temperature (exceeding 150ºC/300ºF). Add a high smoke point oil to the pan if using.
3.Sear Quickly: Sear the meat for 1-2 minutes on each side, just until a crust forms. Be careful not to sear for too long to avoid overcooking the interior.
4.Finish and Serve: Let the meat rest for a couple of minutes after searing to allow the juices to redistribute before slicing and serving.
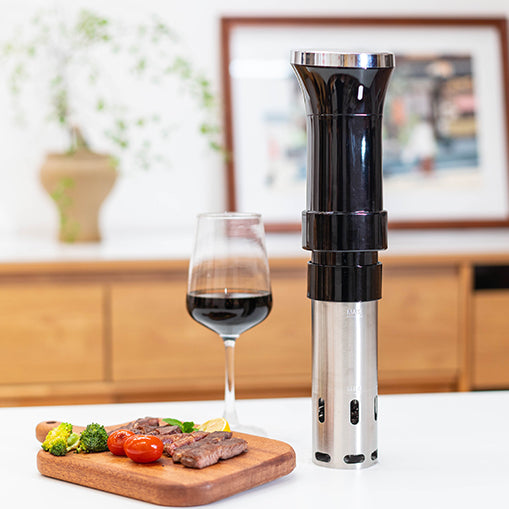
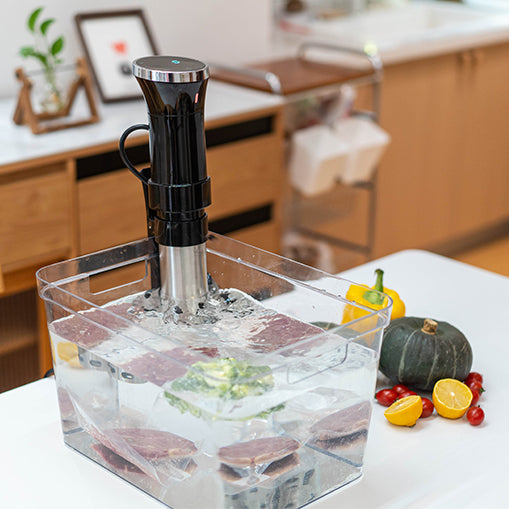
To achieve the best taste and texture in your sous vide cooking, whether you sear the meat before or after, using an efficient sous vide machine is essential. We highly recommend the SCHWUA Sous Vide Machine, which utilizes a 3D water circulation system to maintain consistent temperatures throughout the water bath, ensuring even cooking across every inch of your food. Additionally, its remote access feature allows you to set temperatures, manage cooking times, turn the unit on or off, and even schedule cooking in advance with the reservation timing option, making the entire process more convenient and precise.
Conclusion
Searing is a vital step in sous vide cooking that enhances flavor, texture, and visual appeal. Whether you choose to sear before or after sous vide depends on your desired outcome, convenience, and personal preference. Searing after sous vide is generally preferred for optimal control and consistency, while searing before sous vide can infuse additional flavor and save time later. By mastering your searing technique, you can elevate your sous vide dishes to new heights, delivering restaurant-quality meals at home.